
I am here to tell you what to do and when From Save the Dates through to Thank You Cards!
Planning a wedding involves numerous details and decisions, one of the essential aspect is designing and sending out wedding stationery. From save the dates to thank you cards, each piece plays a significant role in informing and engaging your guests. In this post, we will provide you with a framework to help you personalise your wedding stationery timeline. This will ensure you stay organised and create memorable moments at each stage of your wedding journey.
Heads up! This is an informative post, have your tea, coffee or cocktail at the ready and dig in for great advice!
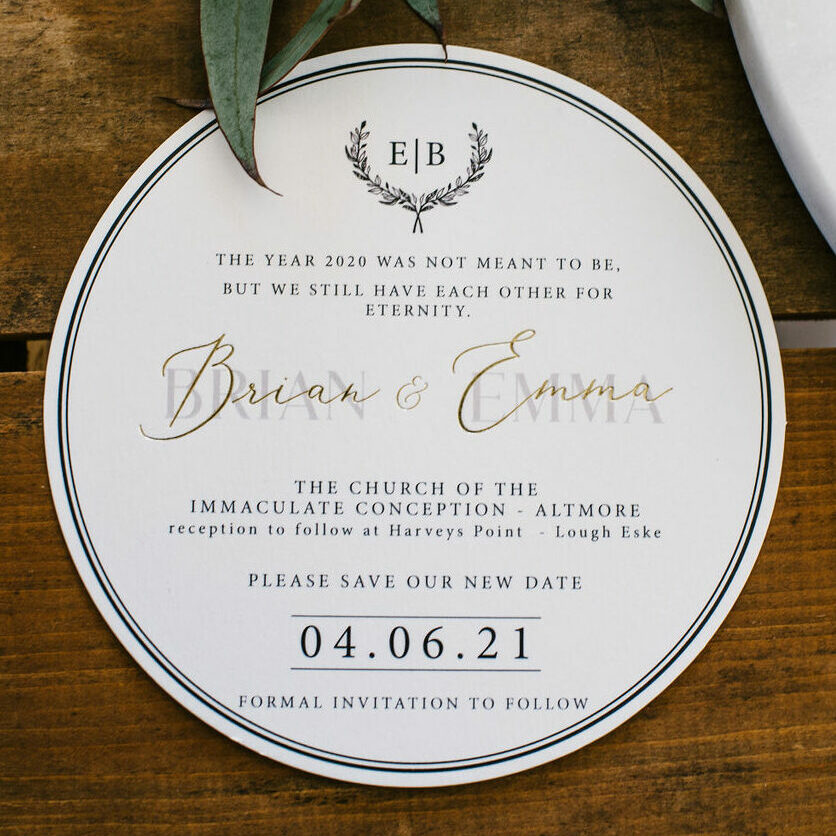
Save the Dates
Your very first foray into the world of wedding stationery. The purpose of save the dates is to give your guests a heads-up about your wedding. Allowing them to mark the date on their calendars this super exciting stage is the first time you will confirm your upcoming celebrations with your nearest and dearest!
Here are some things you need to have organised and consider before sending them out:
- Determine your wedding date and venue: Once this is booked and secured you can send out your Save the Dates
- Timeframe – In general a good time to send save the dates is around 10-12 months in advance of your wedding. You might consider sending them earlier if you are getting married If you are getting married in a busy time. E.G summer holidays, or Christmas. This would also apply if you are getting married abroad or have guests travelling.
- Guest list: Compile a list of guests and ensure you have accurate numbers for your stationery order. Top tip – always order extra a good rule is 10 or 10% whichever is greater!
Wedding Invitations
When most people think about wedding stationery – the invitations are the main thing that pops into your head. For me they are one of the most important pre-wedding steps you have. Wedding invitations set the tone for your big day and provide crucial information for your guests,. This is both practical information and gives an insight into the amazing day you have planned!
When thinking about a timeline, there is so much more to consider than when your invitations go in the post.
Here’s a breakdown of a wedding invitation timeline from ordering to posting:
- Design and order: Allow ample time to design your wedding invitations and place an order with your stationery provider. Let’s say I am your stationery provider. My current timeframe from starting design is around 6-8 moths for Bespoke Design and 4-6months for my semi bespoke range.
- Printing and assembly: Bespoke wedding stationery is not a rush job! It takes time to produce the elements that come together to create your dream invitation. The time required for printing and assembling invitations can vary from 5days to 2 weeks. This depends on your order size and finishing touches.
- Mailing: When it comes to mailing, I currently recommend posting your invitations 12 weeks before the wedding. This ensures you are allowing guests sufficient time to RSVP. (and give you time to chase the ones that don’t, without feeling stressed)
- RSVP deadline: Set an RSVP deadline to finalise your numbers and other arrangements for your venue. I would recommend setting a date for around 4 weeks before your wedding – more if you have a personalised menu.
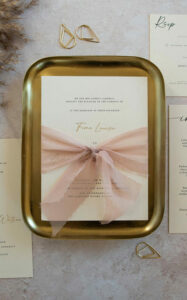
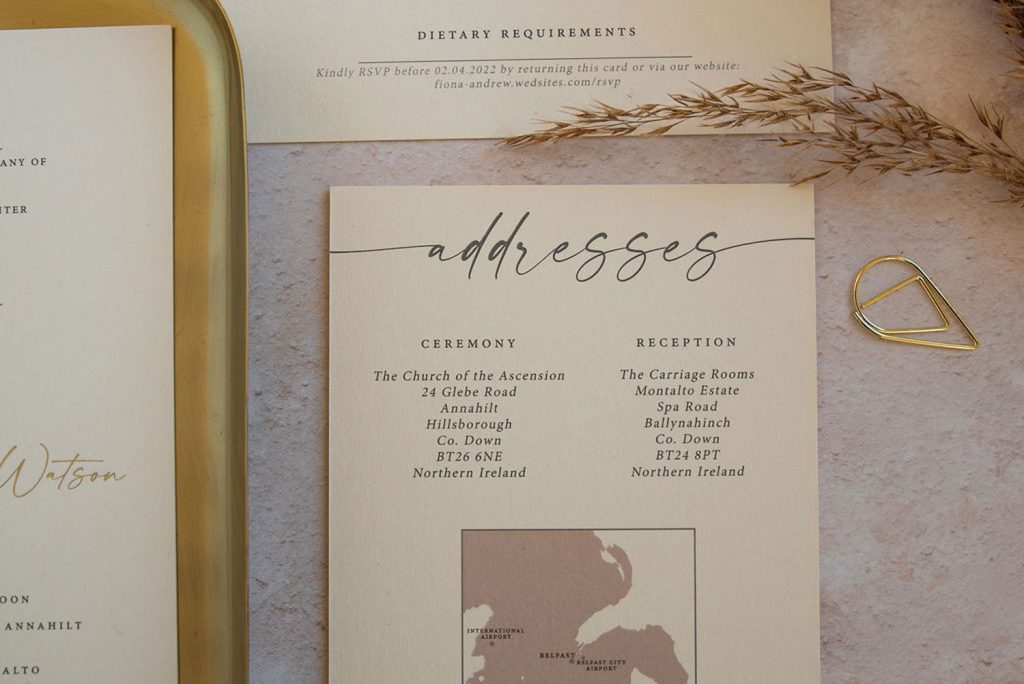
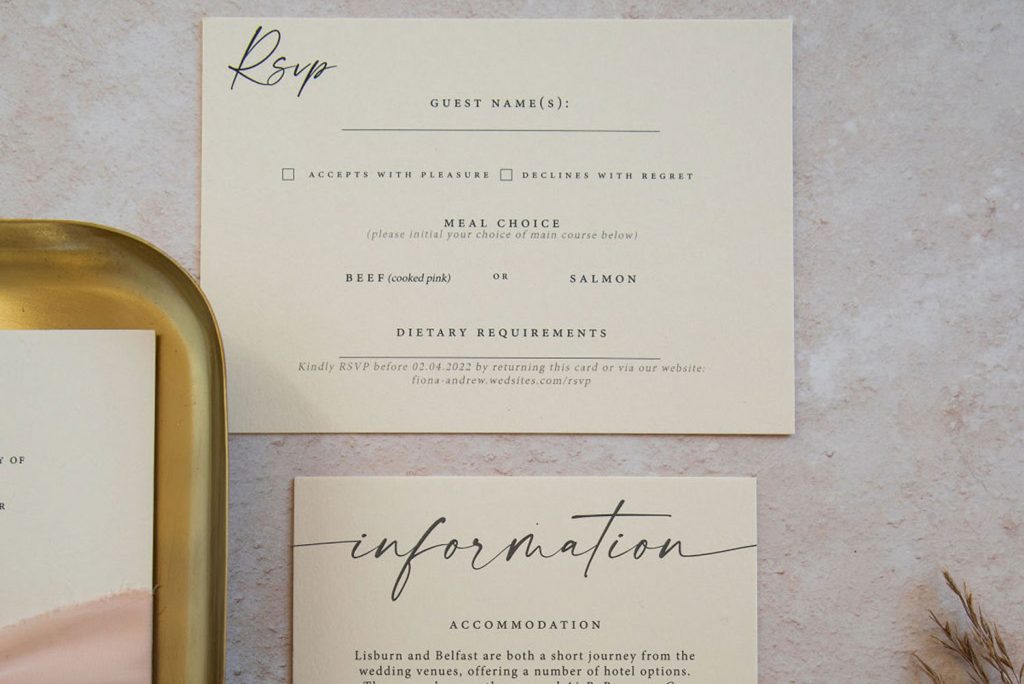
Images above are from our Celeste Suite which you can find and customise here
On The Day Stationery
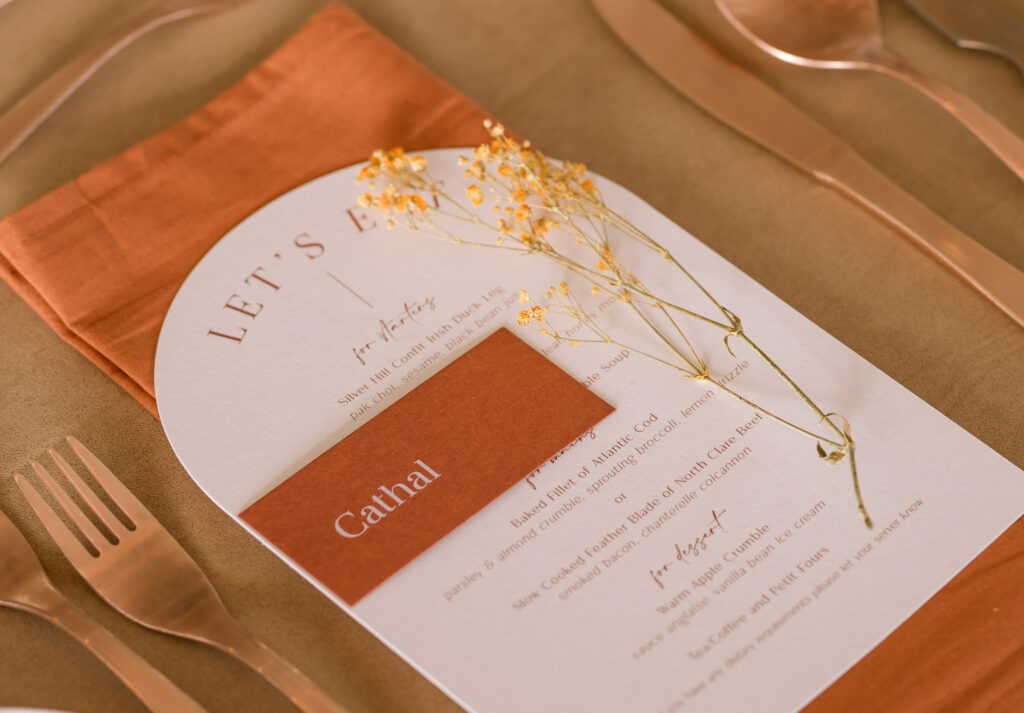
On-the-day stationery will vary hugely from couple to couple. The items you need will vary depending on your own personal tastes and style, the type of wedding you are having and of course your budget. Some On-the-Day stationery items includes ceremony programs, place cards, menus, table numbers, and signage.
The deadline for your on-the-day items is pretty obvious… your wedding day. But when do you start the process, when do you get it from your stationer to you venue etc? Here is our best advice for stress free on-the-day stationery.
- Determine your requirements: Identify the on-the-day stationery items you would like to include based on your wedding theme, style, and budget. The earlier you do this the better, I like to discuss this at the veery beginning of your journey to allow you to consider your budget inclusive of on the day stationery.
- Design: It can be tricky to get together the perfect time for your design, especially for personalised items such as menus and table plans. Design to early and you might end up needing alot of changes which could cost extra depending on your designer. At TLW we prioritise the overall look and feel of your day to get key styles ready and add personalisation at a later stage. I prefer to start this process around 6-8 weeks before your wedding day.
- Finalise details and production : Ensure you have a finalised guest list, seating arrangements, menu selections, and any other relevant information before printing the items. Over the years I have found the sweet spot for sending to print is around 2 weeks before the wedding. This gives enough time for production and collection to be stress free but is close enough to your big day to minimise the chances of last minute changes.
- Delivery or set-up: Plan for the delivery or set-up of on-the-day stationery items, either by yourself or through a wedding planner or coordinator. Delivery direct to your venue can also be arranged by us if requested.
Thank You Cards
Not to be overlooked, Thank You Cards are a perfect way to reflect on an amazing day, say thank you wonderful guests for sharing your celebrations with you and for any gifts you may have received. The timeline for these can vary from a couple of weeks to a month or so after your wedding but I have a few handy tips to make this process a breeze and super personalised!
- Keep your addresses: You go to all the effort of collecting your guests’ addresses for sending invites. Make sure you keep this safe to streamline the thank you card process.
- Take Stock of Gifts: When opening gifts and cards ensure to have a notebook handy to write down what gifts you received from who so you can tailor your message and thank each guest for their gift.
- Design and order: Ask your stationery designer to create a thank you card in keeping with the rest of your stationery as a final cherished moment from your day. I love incorporating a photo from the day! (bonus points if you can get one of the actual guest)
- Don’t put it off: It can be very easy to put this task off after your wedding. You’ve been planning for months maybe years and you feel like its all over but I delayed thank you card can feel a little off. Send within 3 months to show your thanks and appreciation for your guests.
In Conclusion
Creating and sending out wedding stationery is an exciting and personal part of the wedding planning process. By following this framework and customising it to your preferences and timeline, you can ensure your wedding stationery journey is well organised and stress free. Done the right way bespoke wedding stationery will reflect your unique style and leaving a lasting impression on your guests and working with a professional designer they will help you execute this timeline to perfection for your unique day.
Remember, every detail counts, and your wedding stationery will contribute to the magic of your special day.
0 Comments